Image whitening - clean B&W documents from nasty photos
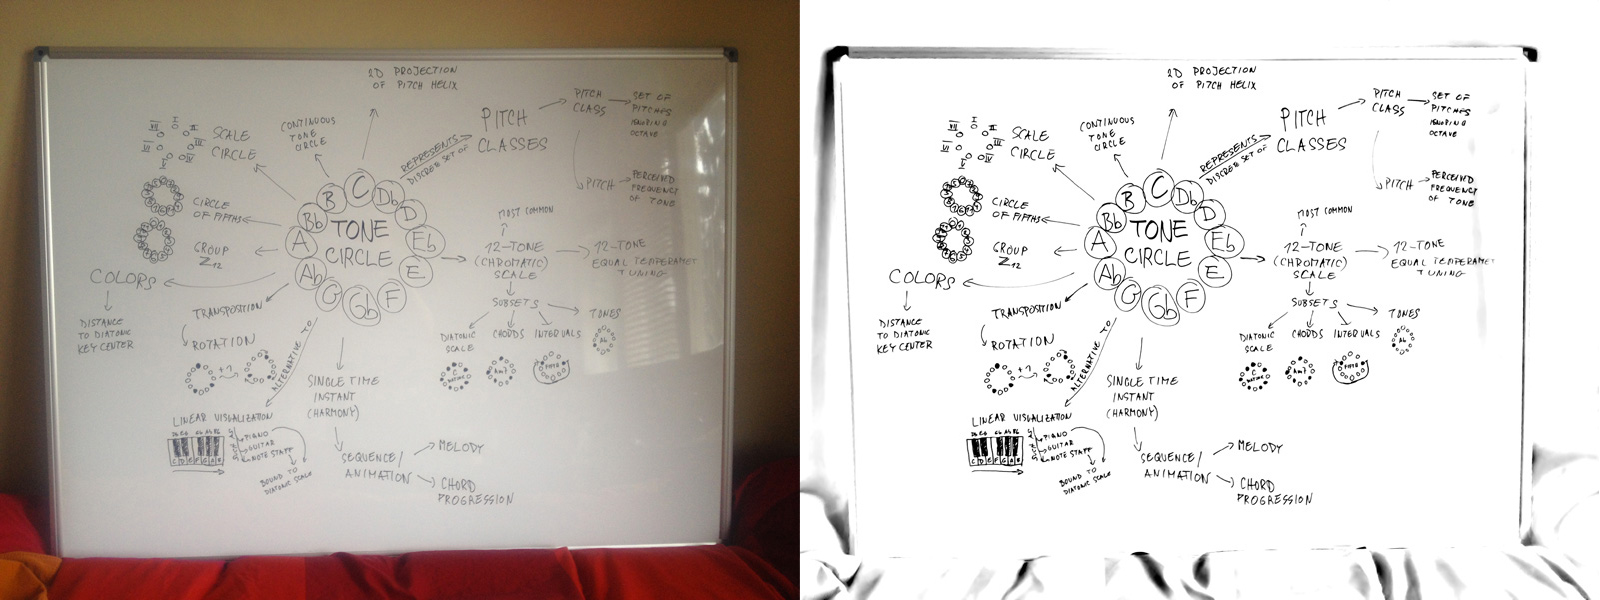
Turn a poor smartphone-camera photo of a document or whiteboard into a nice black & white or color "scan" that can be printed or converted to PDF. It works for text / line drawings / sheet music. The method is described here along with a Photoshop tutorial (and a Photoshop action for download) and a handful of examples.
The problem
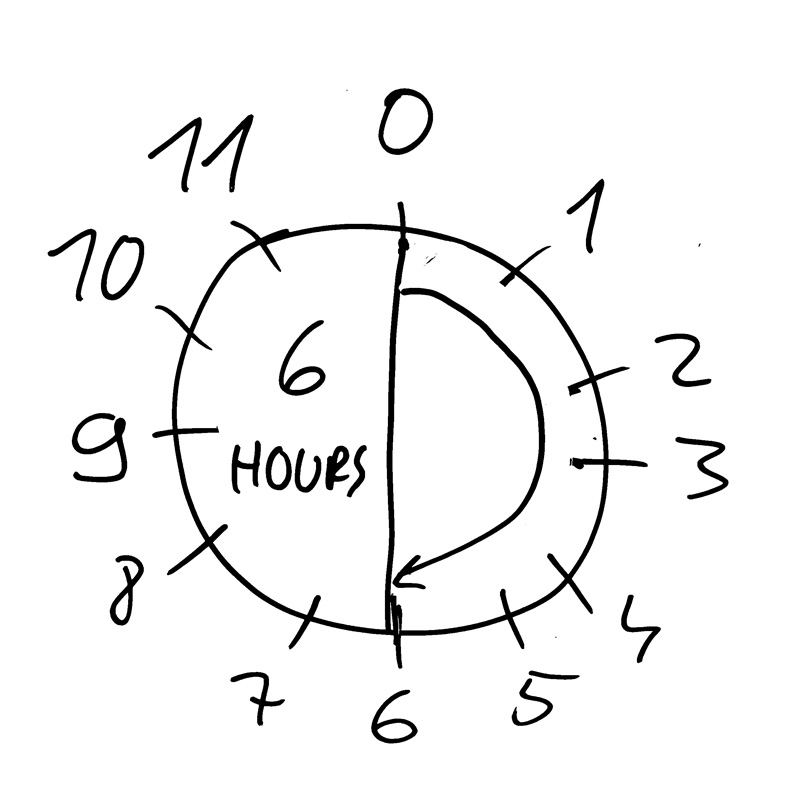
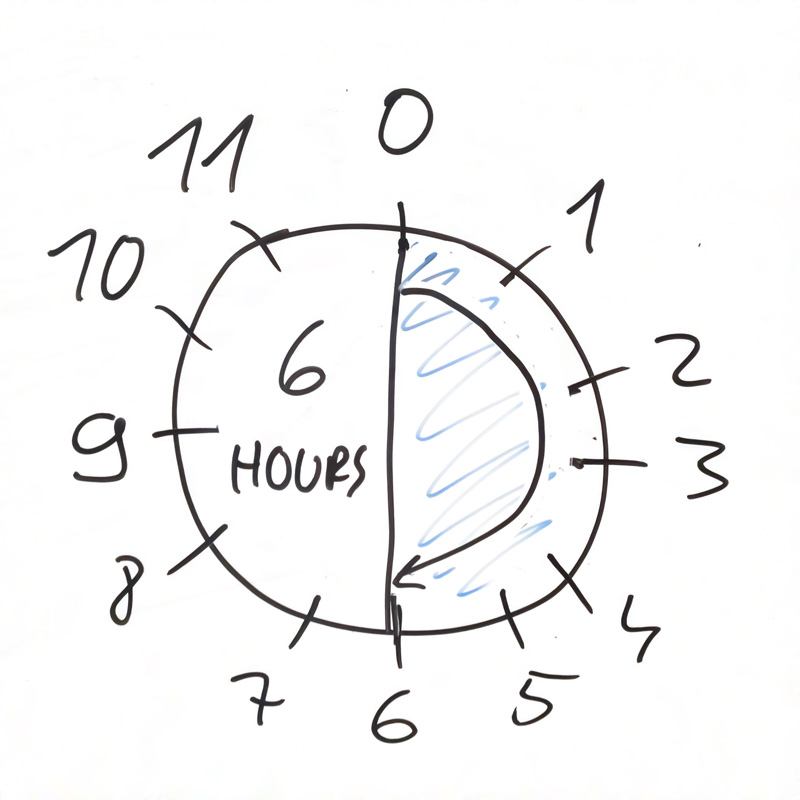
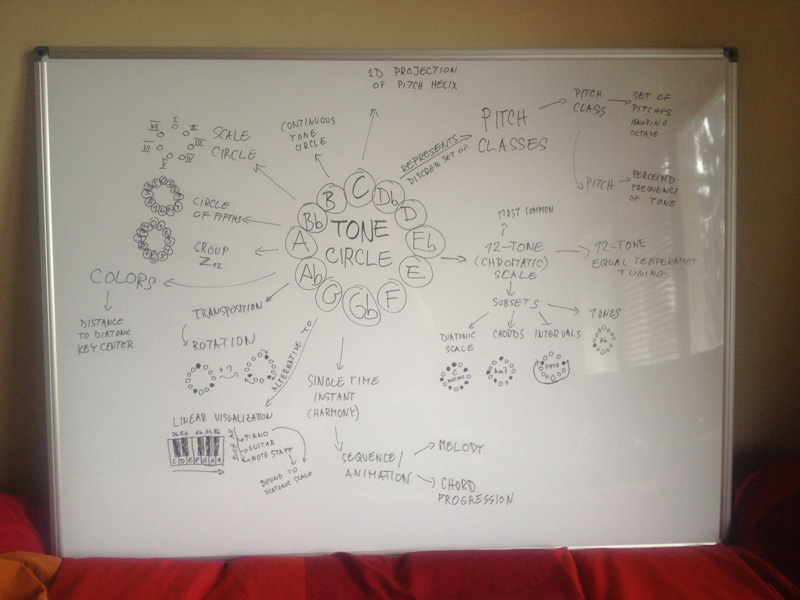
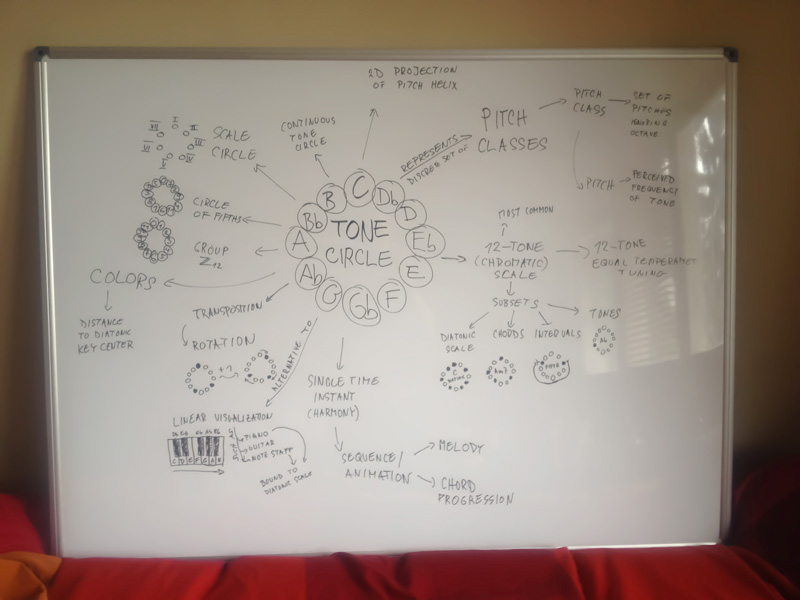
As you can see in the image above, we have taken a photo of a whiteboard at some irregular ambient day light. In order to print it or embed it into web page we want pure white background and nice black text or lines. The image should not be binarized (ie. only black and white pixel), the anti-aliasing of the lines should be preserved.
Thresholding - bad
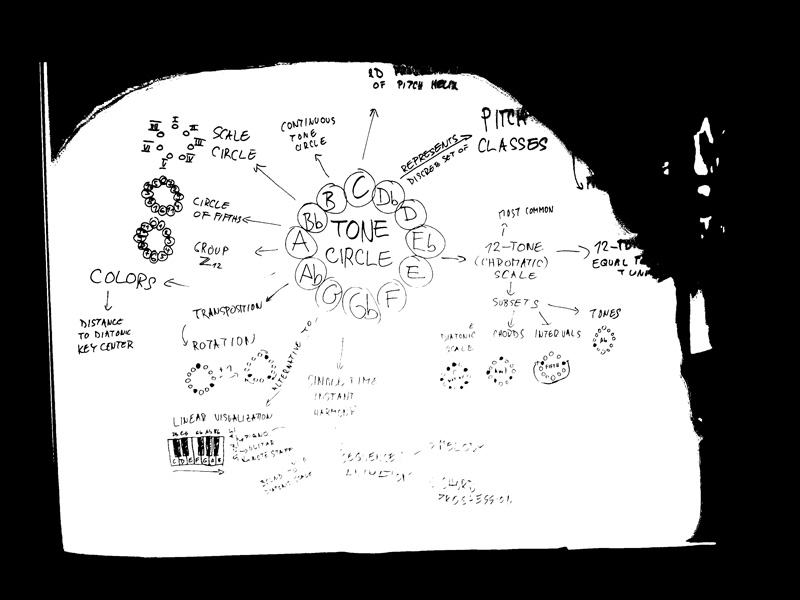
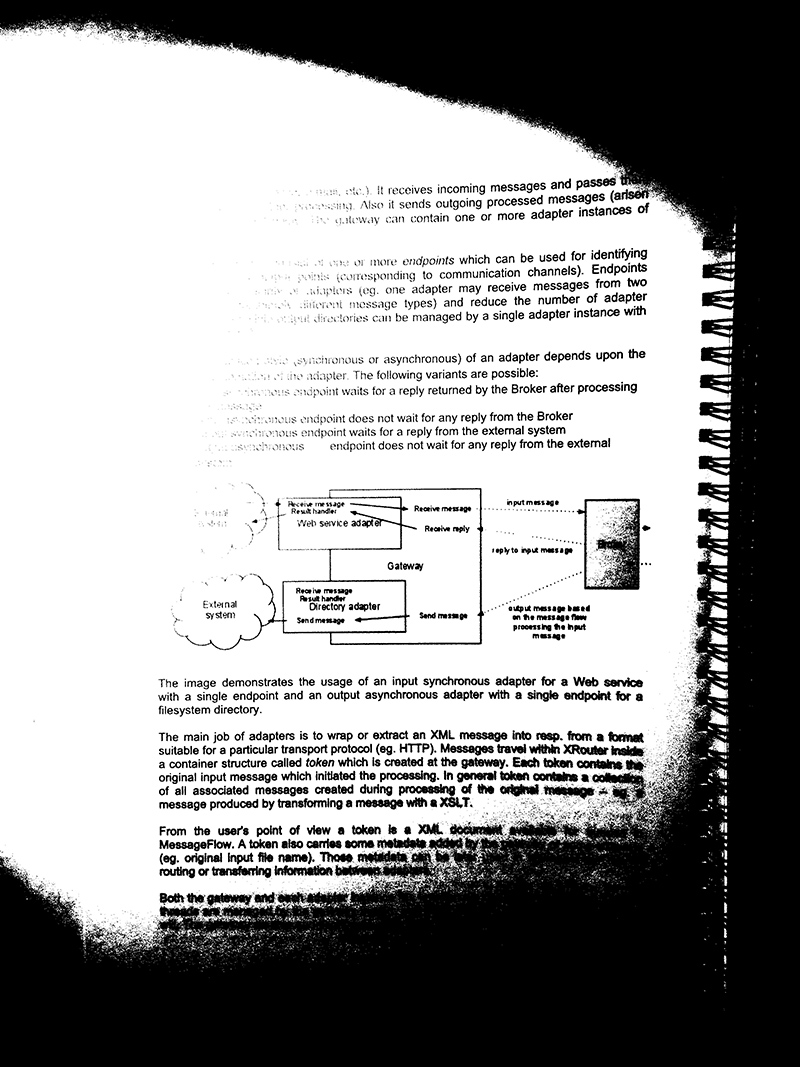
The trivial method is thresholding - all pixels darker than some value will be black, and the rest white. It works kind of ok for scans with regular lighting but fails miserably for our photos. The problem is the threshold is global for the whole image and cannot cope with gradients in background. Also scanners are usually not available at hand and certainly cannot scan whiteboards. The other problem with thresholding is that we lose color information and anti-aliasing.
Well, yes, there are some adaptive thresholding methods out there which try to find optimal threshold value for small image block. Yet, they still produce binarized image and lose colors. We need something better.
The solution
I've came across this problem many time through the years, tried to solve it many ways, including spectral filtering, without much success. Yesterday I needed to prepare some illustration images for my one of my blog articles and make an animated GIF. I only had my new whiteboard and iphone.
Suddenly, the light bulb in my head lit up:
Use the median filter!
What does the median filter do. Simply said, for each pixel it finds the most common value from its neighborhood, a median. From the image processing lecture I can remember it is good for removing salt and pepper noise, ie. lone black or white pixels. And what are the lines and text? A kind of salt and pepper!
The median filter with wide enough radius of neighborhood just keeps the background and removes the text. Then we can just remove this background, eg. divide the original image by the median-filtered one. A similar (yet not really the same) procedure is called whitening in the image-processing field.
I_whitened = I / median2d(I, radius)
How to do it in Photoshop
The easiest tool to experiment with this idea is probably Photoshop (although it might not be the best for batch processing and certainly it is not free).
So here the procedure:
- open the image
- duplicate the layer twice
- name the top layer "median" (not necessary, just for clarity)
- name the second layer from top "background"
- apply the median filter to the "median" layer: Filter -> Noise -> Median
- fiddle with the radius so that the background is quite smooth
- start eg. with 100px for a 6Mpx photo
- set the "median" layer blending mode to "divide"
- merge down the "median" and "background" layers
- voilà!
Tips
Try to fiddle with the radius. Use the least radius that doesn't leave too much dark blobs.
In case there are larger areas filled with black or color the whitening doesn't work well. See the "Document with color diagrams" example below. But there's a work around. We need to remove the big spots from the median layer. The Content-aware fill feature is our savior:
- just select the remaining blobs
- Edit -> Fill (SHIFT+F5) -> Content Aware
- and select the "divide" blending mode again
Denoise before whitening. A great denoising tool is in Lightroom. Something is probably in Photoshop as well.
Adjust Levels after whitening - do white and black clipping. This leaves the background perfectly white and makes the lines/text more contrasty.

Photoshop Action
It is too much hand work. As a bonus I have made a Photoshop action and exported it so that you can just plug it in your installation!
Examples
Document with color diagrams
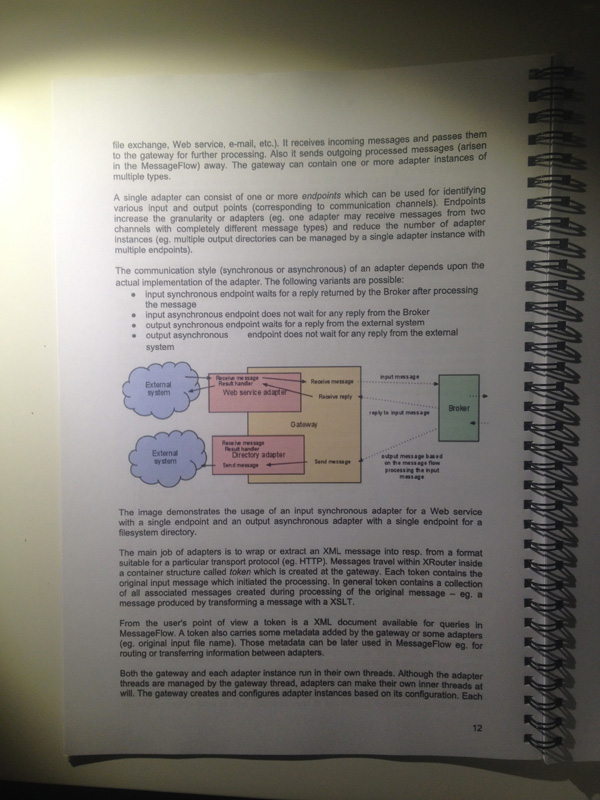
Original (bad gradients from a table lamp):
Thresholded at 100 (bad):
Median with 100 px radius (notice the color blobs):
Whitened (artifacts from color blobs):
Median with 100 px radius + content-aware fill:
Whitened (artifacts are gone):
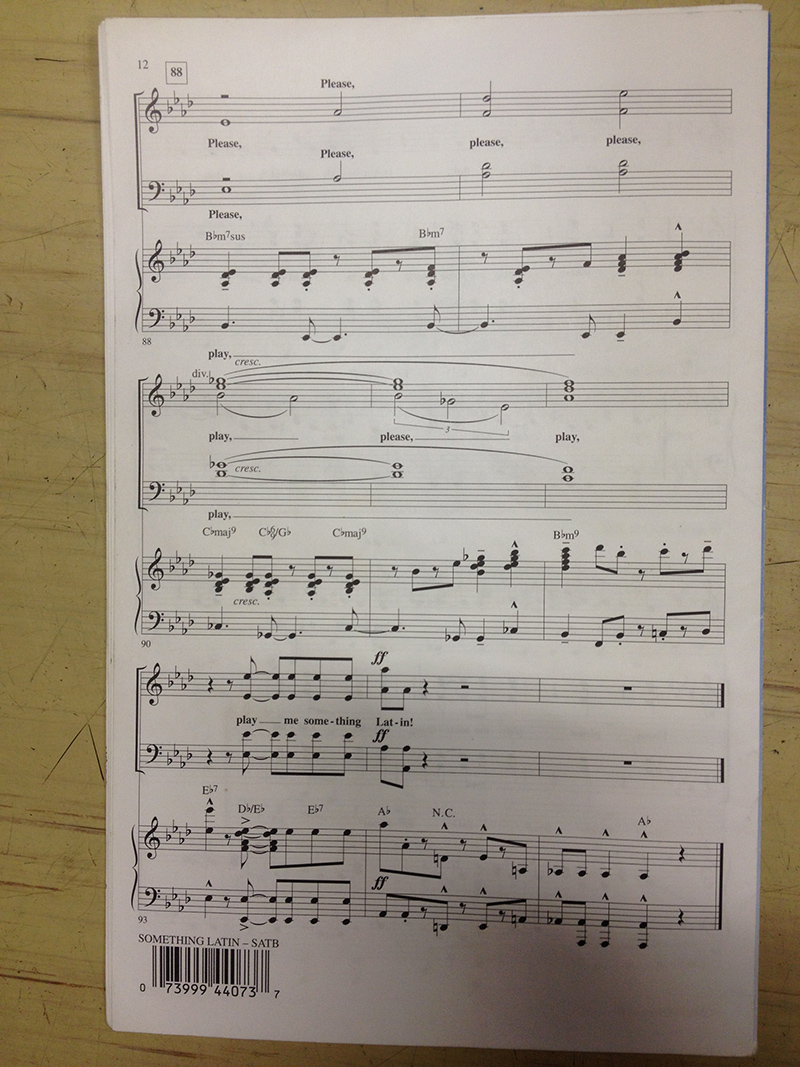
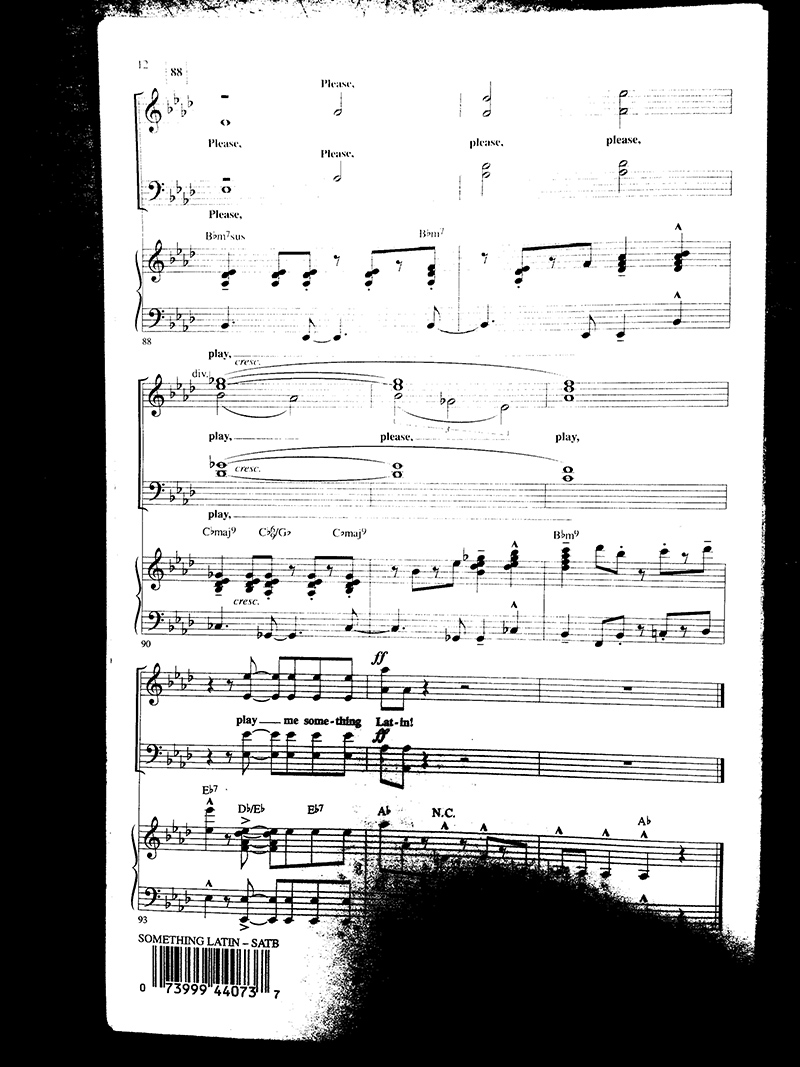
Sheet music
Original (shadow from my hand):
Thresholded at 128 (bad):
Median with 100 px radius:
Original divided by the median:
Simple whiteboard
Original, denoised (in Lightroom):
Thresholded at 80 (the light blue is gone - bad):
Median with 100 px radius:
Whitened:
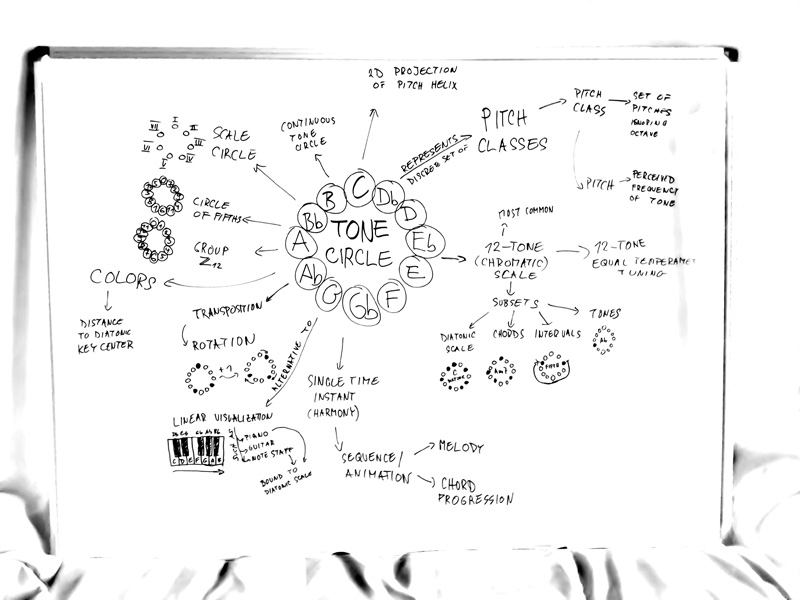
Whitened + levels:
Whiteboard
Original (day light + some reflections):
Denoised in Lightroom (click for detail view):
Denoised + thresholded at 150 (bad):
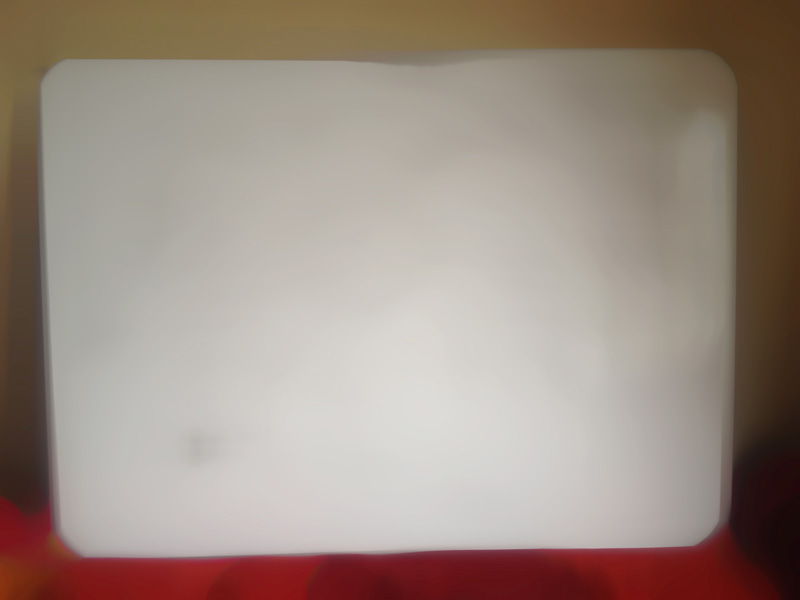
Median with 100 px radius:
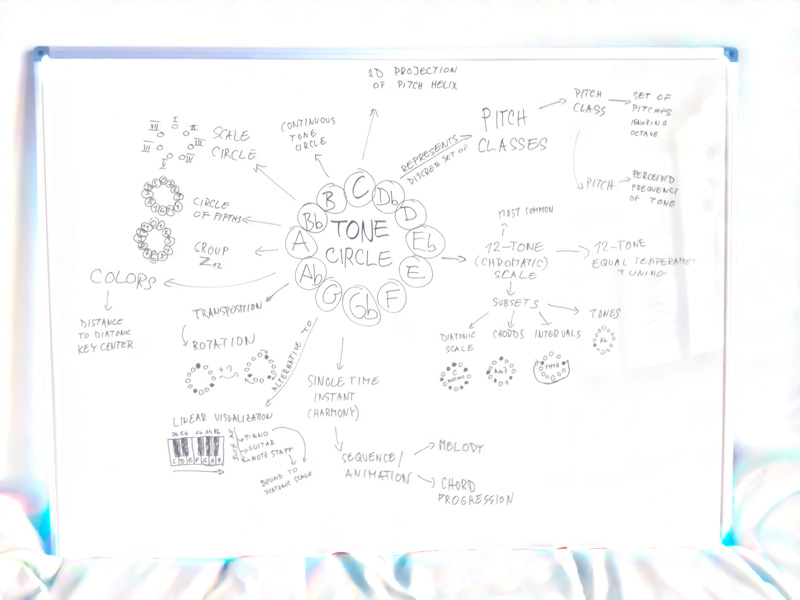
Whitened:
Whitened + desaturated + levels:
Conclusion / TL;DR
In this article I've presented a very simple, yet effective method for converting photographed or scanned documents or whiteboards to a nice printable form with pure white backround and crispy dark text / lines.
The principle is using median filter with a wide radius to remove the text and then divide the original image by the filtered one.
We have seen a procedure in Photoshop and the action available for download.
This method is most suitable for smaller text and lines. It has problems with larger dark or colored blobs. In such case we can manually apply content-aware fill to the remaing blobs in median layer to overcome the problem.
It is good to use denoising before and adjust level after the filter.
Further directions
Since Photoshop is not free and most importantly is it not that great for true batch processing I'd like to implement this method in Python. Hope the code will be available soon.
I also hope you found this article useful. If so feel free to share it and let me know. Also you can follow me at twitter: @bzamecnik.
Enjoy!






Comments
Comments powered by Disqus